Go Back   Maxum Boat Owners Club - Forum > Maxum Specific > Sport Boats
Click Here to Login
Register FAQ Community Calendar Today's Posts Log in

Reply
 
Thread Tools Search this Thread Display Modes
 
Old 06-14-2010, 06:42 PM   #1
Lt. JG
 
Join Date: Feb 2010
Posts: 17
Default 1800SR Dual Battery Install

I installed dual batteries and a selector switch over the weekend in my 2002 1800 SR. This was actually much more simple than I had anticipated.

My boat came from the owner with one 24 series battery strapped into a 27 series tray. So i decided to buy a 27 series battery and a 24 series try. So I could have a proper tray and battery for each.

One 27 series interstate marine deep cycle battery was $90.
The 24 series battery tray was $5
Perko off-1-2-all battery selector switch was $40.
6ft of 2 gauge marine power wire from west marine $?.
6 2 gauge battery terminal ring ends $?.

I started by pulling out the existing battery, tray and master kill switch.
I unscrewed the blower fan as it needed to be slightly relocated.
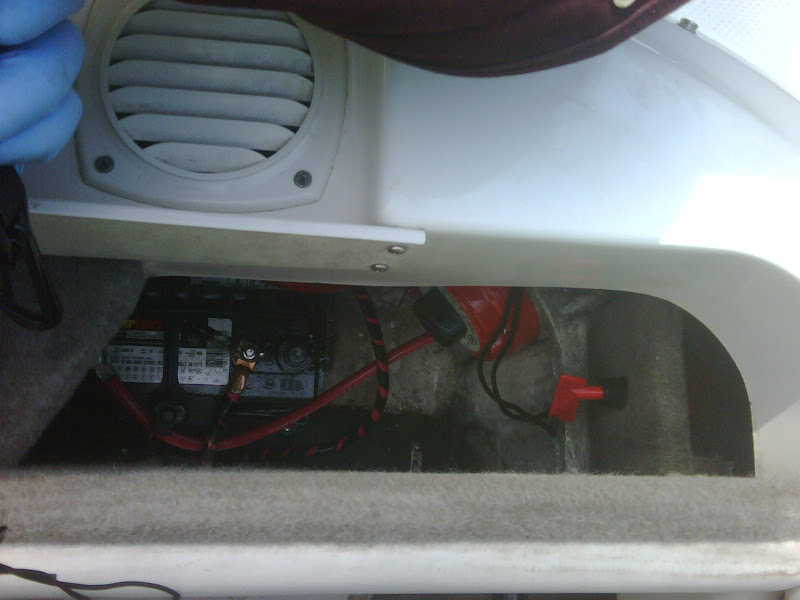
I then configured the two tray's inside the battery area so they both fit snug. I felt the best fit was to have the 27 series against the back wall and the 24 series in front of it.
I screwed down the back tray first and then the front tray.
I placed both batteries in their trays.
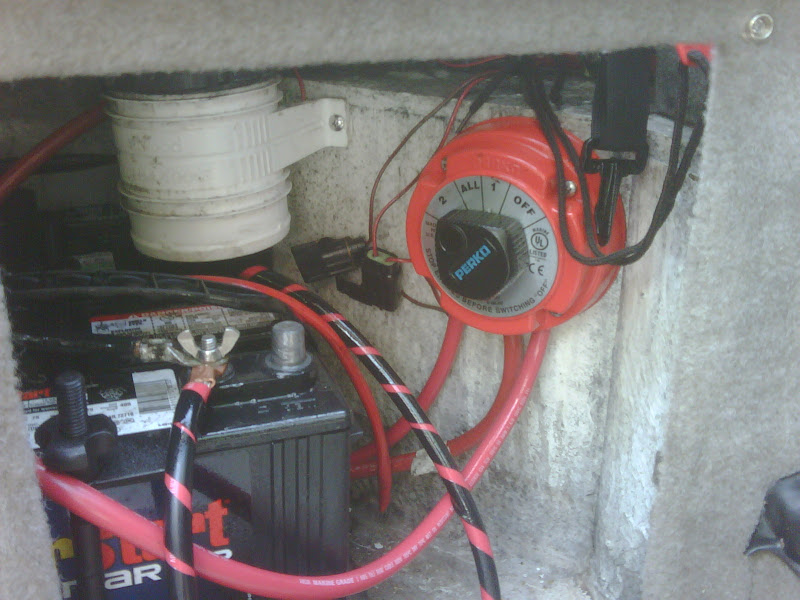
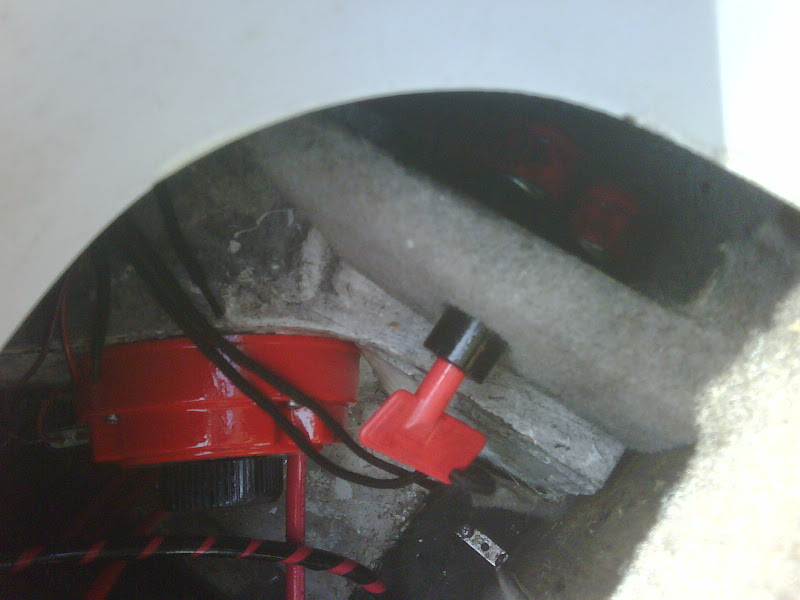
I decided to mount my switch on the inside wall just below the master kill switch.
I made up two new positive wires that could reach from each battery to the slector switch. I used vise grips to secure the terminal ends to the 2 gauge wire.
I then took the remaining wire and wrapped it in black electrical tape and used it as my ground across each negative terminal.
I unhooked the bilge and stereo memory from the master kill switch and attached it to the battery selector switch common.
I also hooked the trim power wire to the selector switch common.
I decided to wire the 24 series battery as #1 and the 27 series battery as #2.

So with my master switch off my bilge pump, trim and stereo memory has power if needed. However there is no power to start the motor or any other electronics.

With my master switch on all power is available from Batt 1, 2 or both at 12v. So I can trim and start the motor on either battery and the alternator can charge either batt 1, 2 or both.

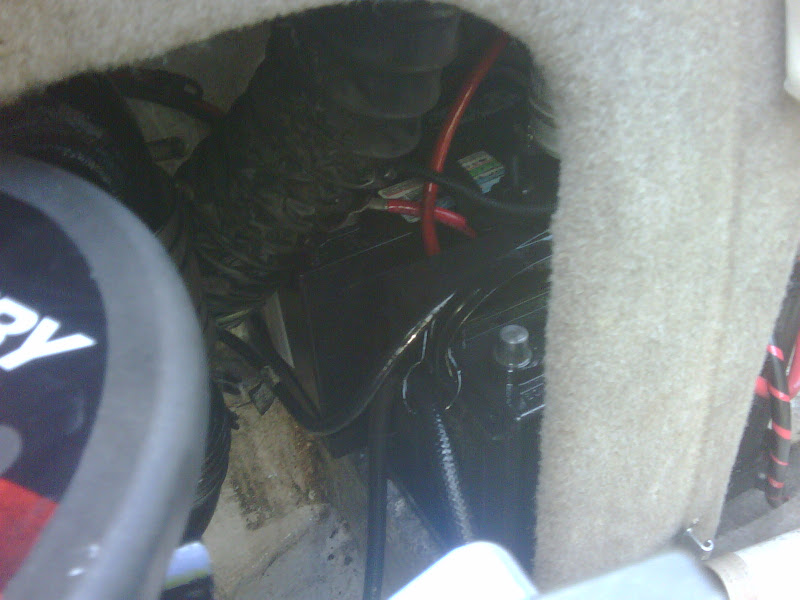
Some pics of the final install:


__________________

jreidg3 is offline   Reply With Quote
Old 06-14-2010, 06:43 PM   #2
Lt. JG
 
Join Date: Feb 2010
Posts: 17
Default

Four More Pics:


__________________

jreidg3 is offline   Reply With Quote
Old 06-14-2010, 06:48 PM   #3
Lt. JG
 
Join Date: Feb 2010
Posts: 17
Default

Oh and everything looks greasy because I just finished spraying it all down with T-9 Boeshield waterproofing spray as I now leave the boat in the slip for the rest of the summer. The boeshiled seems to help prevent corrosion caused by the added moisture of leaving it tied up at the dock.
jreidg3 is offline   Reply With Quote
Old 06-15-2010, 03:45 PM   #4
Moderator

 
shrew's Avatar
 
Join Date: Apr 2008
Posts: 5,603
Default

Nice job!!!! A few pieces of unsoliticed advice:

1) In a few pics one of the connectors looks pristine and new, the other looks a little oxidized/corroded. Consider crimping new connectors for the corroded ones.

2) Take off all the battery connectors and use some shrink tubing. There is exposed wire between the cable sheath and the connector. That is bad. The shrink tube should cover a portion of the connector and go up the cable a few inches so there is nothing exposed except for the ring terminal of the connector itself. I like to use red shrink tubing for the positive and black fro the negative.

3) Is that black electrical tape wrapping the red cables to identify the cable as a negative/ground or is that black wire loom? If that is black electrical tape, I can tell you from experience the heat of the engine compartment is going to melt that adhesive and you are going to be left with a sticky, gooey mess on those cables that will haunt you every single time you're in there. I'd suggest either getting some black cable, or simply use black shrink tubing on each end to designate the color. Even black emergency/safety tape would be better. The idiot who did some wiring work behind my helm used tons of electrical tape and when I went to replace my fuse buses last week, it was a nasty mess that got all over me and everything I came near. IT doesn't really come off the upholstry well either.

3) Since you're not using enclosed battery boxes (the method you used is perfrectly fine as long as they're secured in place, which clearly they are) you need to get some terminal caps. The terminals need to be completely protected from water. This includes both the wing nut style (which you did use and is the correct method) as well as the automtive posts (which shouldn't be used in a marine environment). You need to keep water from coming in contact with the contacts. Particularly from bridging between the positive and negative.

4) Once you've got everything screwed back together again, consider hitting with some dielectric grease.


These are minor and it should take you a very short time to get in order. Otherwise this looks like a really nice job.
shrew is offline   Reply With Quote
Old 06-29-2023, 12:12 AM   #5
Ensign
 
Zathrus's Avatar
 
Join Date: Mar 2023
Location: Vancouver BC Canada
Posts: 9
Default Blower venting

Your battery and switch installation looks fine but your blower and ducting are a bigger issue and should be addressed ASAP.

I just posted an update to address this issue. Search my name.

Happy and safe boating!
Zathrus
Zathrus is offline   Reply With Quote
Old 07-07-2023, 03:01 PM   #6
Moderator

 
shrew's Avatar
 
Join Date: Apr 2008
Posts: 5,603
Default

This thread is 13 years old.
__________________

shrew is offline   Reply With Quote
Reply


Posting Rules
You may not post new threads
You may not post replies
You may not post attachments
You may not edit your posts

BB code is On
Smilies are On
[IMG] code is On
HTML code is Off
Trackbacks are Off
Pingbacks are Off
Refbacks are Off


Powered by vBadvanced CMPS v3.2.3

All times are GMT. The time now is 11:02 PM.


Powered by vBulletin® Version 3.8.8 Beta 4
Copyright ©2000 - 2024, vBulletin Solutions, Inc.