Go Back   Maxum Boat Owners Club - Forum > Maxum General > Projects and Customisations
Click Here to Login
Register FAQ Community Calendar Today's Posts Log in

Reply
 
Thread Tools Search this Thread Display Modes
 
Old 01-11-2016, 12:41 AM   #1
Lt. Commander
 
Daleo56's Avatar
 
Join Date: Sep 2015
Location: Azusa, CA
Posts: 102
Default Head Maintenance - Drain and Pump Replacement - 2004 Maxum 2400SE

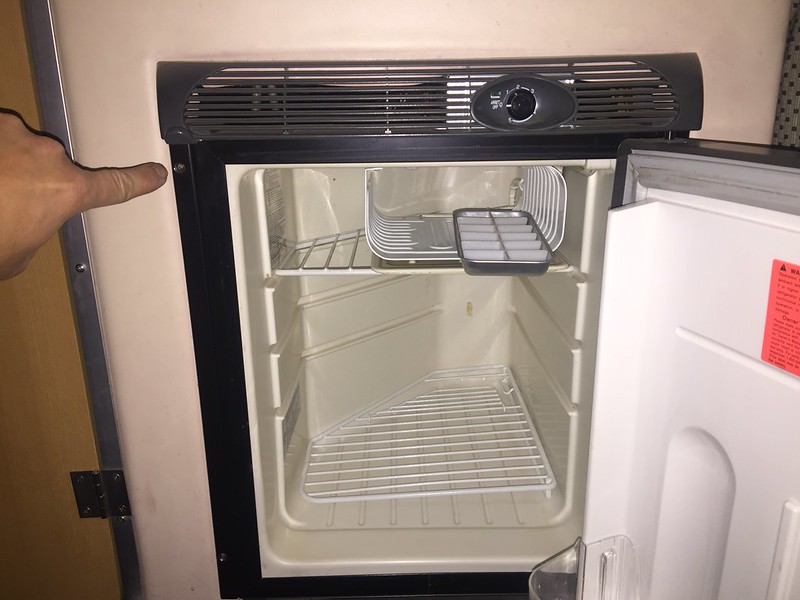
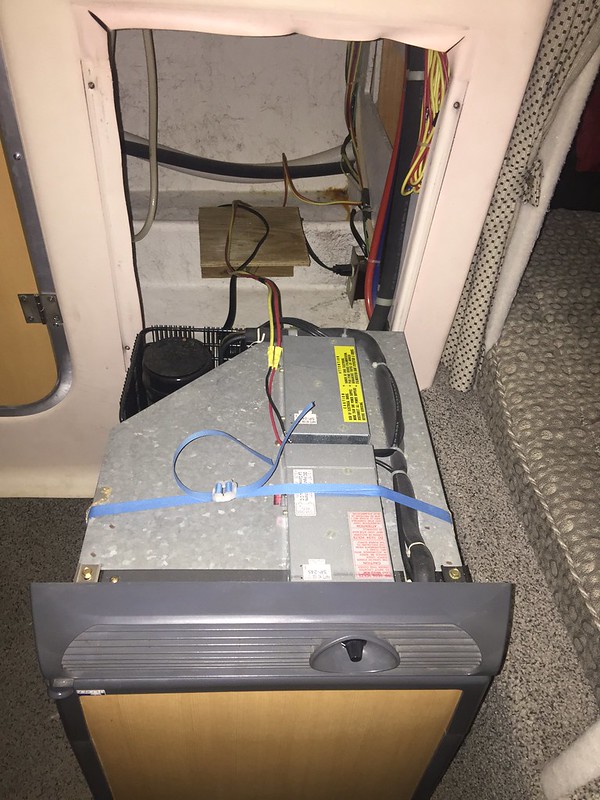
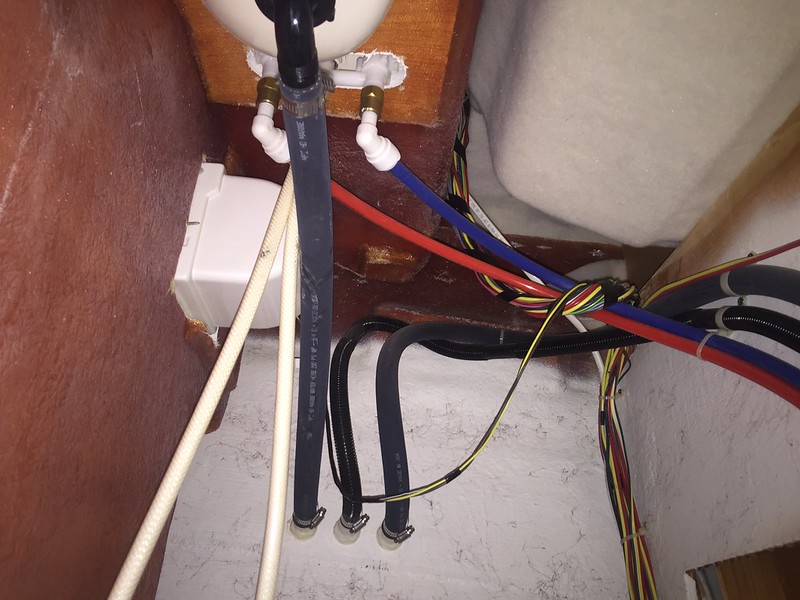
The head on the 2400SE needed some work and with the boat put away for a few months I decided I was going to replace the bad parts. When I bought the boat the head pump would not fill from the seacock and the shower drain was rotted away. I dreaded changing it out but it ended up being super easy. Once I removed the fridge I was excited not only to see the easy access but to also see access to all of the wiring and other fittings that I thought were sealed in the bulkhead.

I am actually going to leave the fridge out for a month while I run spotlight wiring and make a small berth cabinet where the AC would have gone. There is even an extra set of wires prerun for some optional accessory. I might even get rid of the fridge and figure out an ice chest on a slide in rack.

So, whether you are replacing the fridge, plumbing, drains or electrical the steps are similar:
  • 4 screws to remove the fridge (cut DC wires and unplug 110)
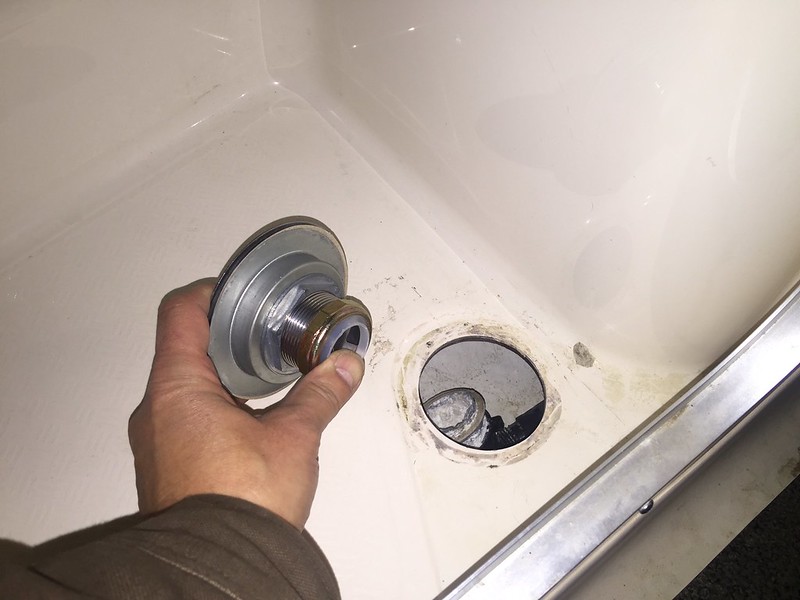
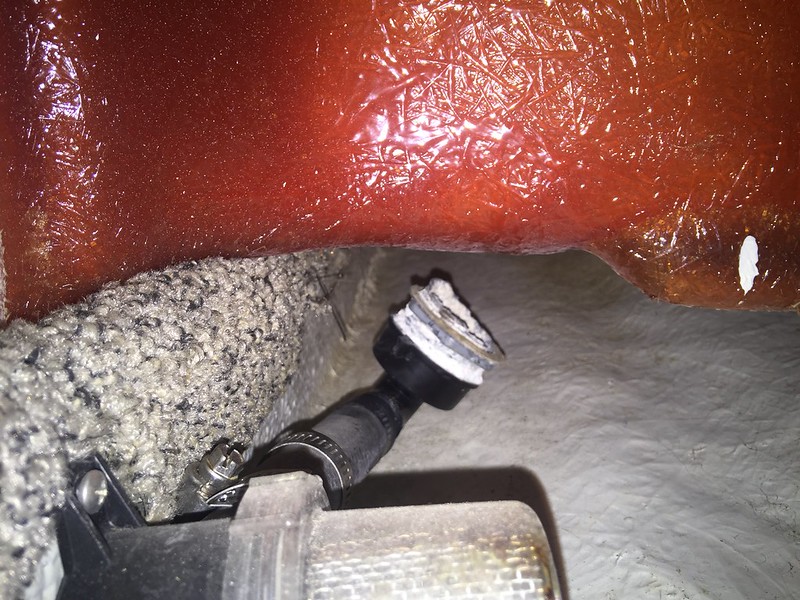
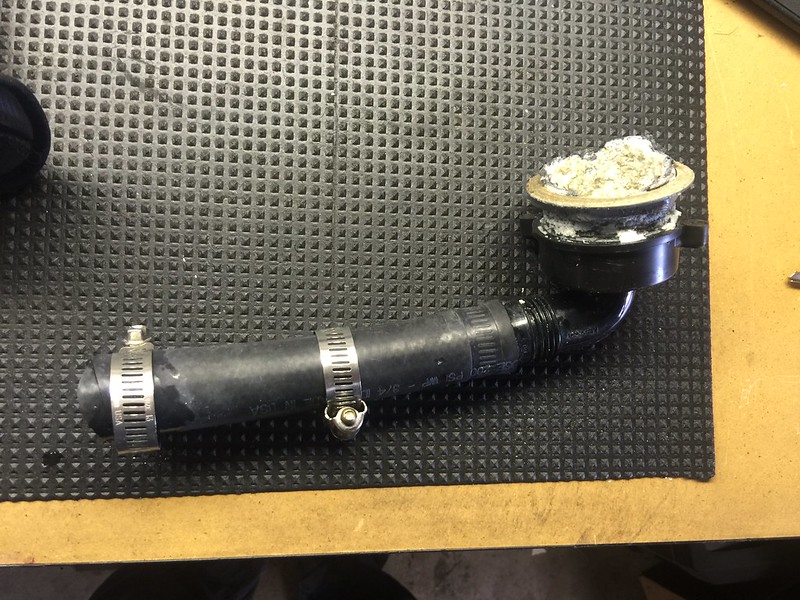
  • 2 hose clamps to remove the old hose and elbow
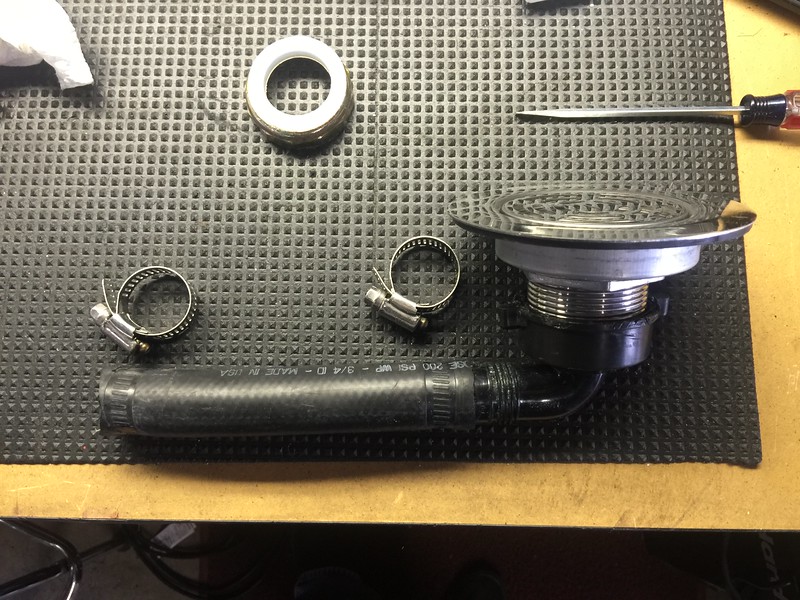
  • Clean and prep new/old parts
  • Install new strainer/drain and have a beverage

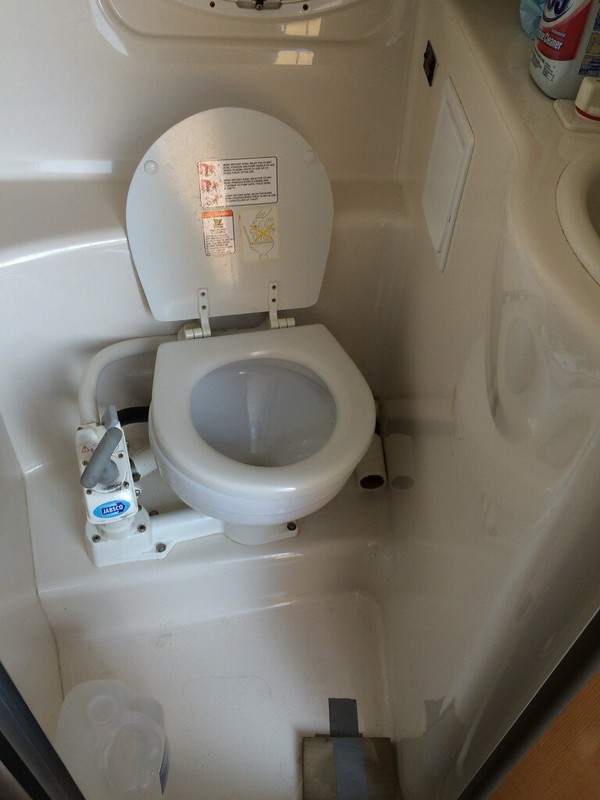
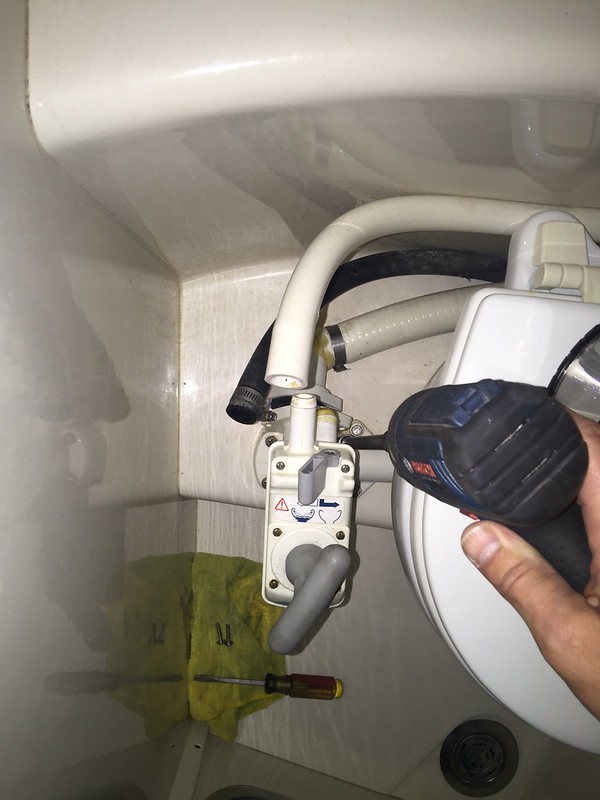
The toilet pump was also easy too:
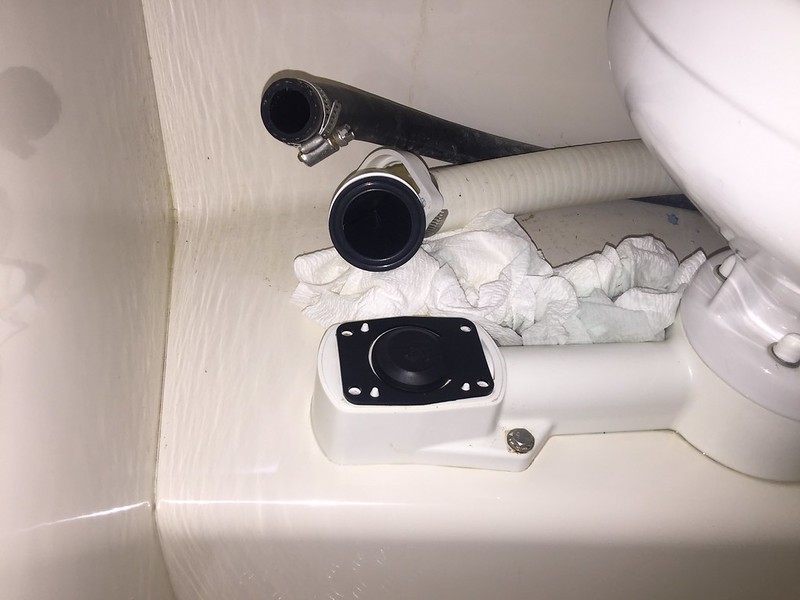
  1. Unhook white and black hose
  2. Unscrew large outlet flange (optional: leave flange and hose assembled)
  3. Unscrew four base screws
  4. Replace unit and base gasket
  5. Connect it all back up

You can also Youtube a video of the Jabsco pump change at:


The replacement parts I used are at the links below:

4-1/2" Flange Flat Top Strainer (shower drain)
EZ-FLO 30031 Flat Top Strainer, Stainless Steel - Sink And Drain Equipment - Amazon.com

Jabsco 29040-3000 Toilet Replacement Valve

http://www.amazon.com/gp/product/B001794BS0

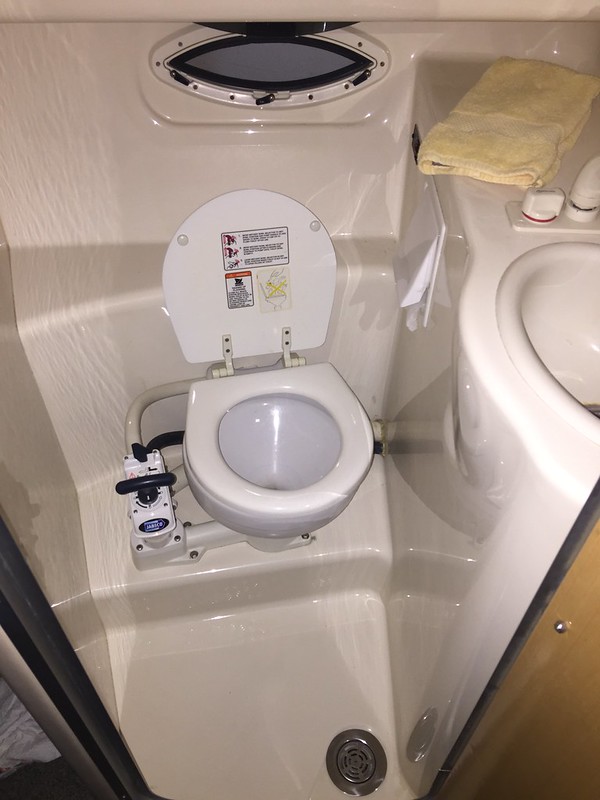
Below are some pictures of the process. The first picture is the one the previous owner sent me before I bought the boat. The last picture is what it looks like after I finished the remodel


__________________

Daleo56 is offline   Reply With Quote
Old 01-11-2016, 02:48 AM   #2
Admiral
 
mmwjr's Avatar
 
Join Date: Feb 2012
Location: Essex, Maryland
Posts: 10,221
Default

Great documentation on the projects, thanks for sharing.

I am considering pulling my frig to replace the thru hulls.
__________________

__________________
1997 Silverton 362, 7.4 Crusaders
1997 2400 SCR, 5.7 Vortec / Bravo 2

Mike
mmwjr is offline   Reply With Quote
Old 01-11-2016, 05:44 AM   #3
Lt. Commander
 
Daleo56's Avatar
 
Join Date: Sep 2015
Location: Azusa, CA
Posts: 102
Default

Quote:
Originally Posted by mmwjr View Post
Great documentation on the projects, thanks for sharing.

I am considering pulling my frig to replace the thru hulls.
I would totally recommend it. I spent a good 15 minutes just looking at all of the wires, hoses and fittings!
Daleo56 is offline   Reply With Quote
Reply


Posting Rules
You may not post new threads
You may not post replies
You may not post attachments
You may not edit your posts

BB code is On
Smilies are On
[IMG] code is On
HTML code is Off
Trackbacks are Off
Pingbacks are Off
Refbacks are Off


Powered by vBadvanced CMPS v3.2.3

All times are GMT. The time now is 04:11 PM.


Powered by vBulletin® Version 3.8.8 Beta 4
Copyright ©2000 - 2024, vBulletin Solutions, Inc.